
How To Keep Your Knees Strong and Pain-Free on the Descent
Herculean being, of course, sees it as an “uphill” struggle. Granted, the ascents are brutal for sure, but for many a trekker, it’s the long, merciless descent off the mountain that is at least as challenging and frequently infinitely more surprising. The descent can be a fine respite from the effort, but it exacts a huge toll on your knees, and it is one of the big sources of pain. And those effects of the descent combine with a week of hiking uphill, tired legs, to make it Frankenstein-ish. You should not have weak or painful knees during your Everest Base Camp Trek in 2019. This comprehensive guide will consider the technical details of the descent and provide professional tips and practical advice that will spare your knees, so you too can experience that victorious final leg.
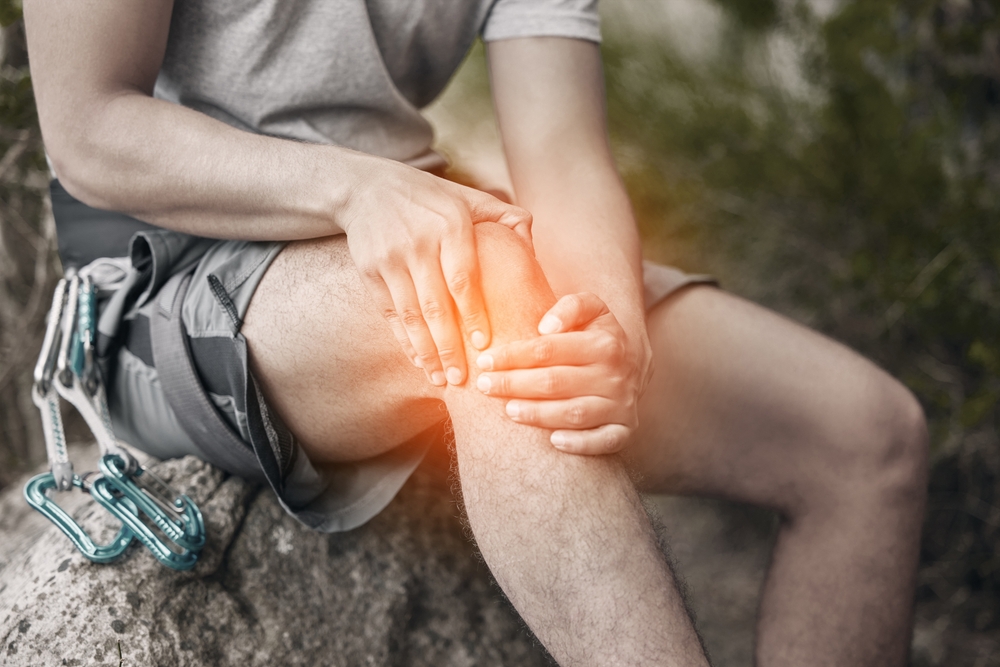
Understanding the Nuts and Bolts of the Descent
The act of going downhill is a specific and unique biomechanical challenge with its own type of stress for your knees. When you walk down a hill, the quadriceps muscles at the front of your thighs are working eccentrically; that is, they’re extending to help control your body’s motion and prevent you from just plummeting down the hill. This awkward working of the muscles is both very tiring and places a great deal of strain upon your knee joint and surrounding tendons. The paths are often rocky as you hike along the Everest Base Camp Trekking trail, nd you will spend a lot of time either ascending or descending, which can have even more strain on your joints! This is also why so many hikers on the ascent are fine, no knee problem on the way up, and start to experience pain as they descend.
The Wonders of Walking Poles: Your Knees’ New Best Friend
Pouches You may also want to use a hands-free system, but trekking poles are not optional… they’re a necessity to protect those knees on the EBC hike. The knee can be cushioned up to 25% when being used correctly.
How to Use Them: Your poles ought to be able to collapse so that when on a flat surface, your hands rest at a 90-degree angle. On a descent, you hang out longer to support your body and the impact. The Tip: On the way down, plant your poles in front of you and use them to help carry some (but not all) of your weight as they hit the ground with each step. This way, you place some of the pressure off your knees onto your arms and shoulders. This simple trick can be life-changing. Take It Easy Poles help you to move more slowly and carefully, which can be an important factor in reverse hiking, especially going downhill without pain. They make you more aware of where you’re going to put your next step, and they won’t allow you to bang up your knees on the jagged rocks.
A good Everest Base Camp Trek cost that would be part of a group tour (everything included) will generally cover you for the provision of trekking poles, and no hardcore trekker goes without!
Preparing to Train for Stronger Knees Before the Hike
The best way to prevent knee pain is by preparing your body for the descent before you ever leave home. One training plan in particular that will help a lot when you’re on the trail is one that gives strength to your knees through working all of the muscles around them.
Focus on your quads and glutes: The muscles that protect your knees. Add movements such as squats, lunges, nd step-downs to your training regimen. Eccentric Training: The most important part of descending is to train it. Eccentric exercises, where you focus on the lowering portion of an exercise, are great for this. A great example would be a controlled step-down from a bench or stair (or the ground if you don’t have access to steps, focusing on resisting the downward pull on your body. Get Physical in New Places: You don’t have to restrict “hump day” exercising to the gym. Climb up and down hilly or mountainous trails as much as possible to incorporate some downhills in your walking routine for the big day.
The Proper Gear and Form
They’ll prevent your ankle from rolling and absorb some of the impact away from your knees. Just make sure they’re well broken in before your trip. Knee Braces or Taping – You have had chronic knee problems; if so, then a good supportive (open patella) knee brace could help! Learning. And with any luck, you can find made-in-tape supporters by learning to tape up your knees properly, even if we’re talking kinesiology tape. Proper Form: Avoid heel striking. Land flat on your foot and roll forward (the idea is to spread out the impact). Bending at the waist, slightly as you descend, can take some of the pressure off your knees.
Trail Recovery and Rest
Prepared or not, your knees are going to need damage. Pay attention to your frame, and comply with those quick suggestions to help yourself bounce back.
Take it slow: move down in small increments, with ample rest breaks alongside the manner. This gives your muscle tissues time to get better and prevents persistent pressure on your knees. Raise Your Legs: When you reach the Tea House in the evening, raise your legs to relieve swelling. Stretch: There are also ways to prevent muscle tightness and pain with some gentle quad and hamstring stretching at the end of the day. Make It Last: You don’t have to run down the hill. Slow and steady actually does win the race when it comes to staying injury-free. Your hike to Everest Base Camp is nothing but a hike, and there’s no need to push the last couple of days.
Final Thoughts: The Triumphant Descent
The descent from EBC Trek is a pie in the face, all spit waterfall. All expect ease. Not only will you have a pair of trekking poles, get your body used to the demands with a targeted exercise program, and carry yourself properly, but you, my friend, you are taking action now towards strong knees that won’t cause any pain. Price to Climb Everest Base Camp. An amazing feat is sacrificed when considering the rise of Everest Base Camp, but perhaps the best one has been able to climb from here to there, self-assured and without being injured along the way. The final victorious leg of your Everest adventure is the journey back down, which, with enough preparation, you will savour every step – a fitting tribute to an achievement that will last you a lifetime.