
From Image to Video: How to Get Started with Image to Video AI Tools
In the world of visual content creation, Image to Video AI tools are quickly becoming a go-to solution for content creators, marketers, and small teams. These tools can transform static images into dynamic videos, adding visual appeal to social media, advertising, and educational content. Yet, many people struggle to fully leverage these tools, especially if they’re new to video creation. This article will explore why users often face challenges with Image to Video AI, how beginners can get started easily, and the common mistakes to avoid.
Why Many People Struggle with Image to Video AI Tools
Despite the promise of simplicity, many users find it difficult to get the most out of Image to Video AI tools. This frustration often stems from a few key reasons:
1. Lack of Clear Goals
One of the biggest obstacles is starting without a clear purpose. Users may upload photos expecting a “perfect video” without considering the intended audience or use case. This often results in videos that feel disconnected or don’t achieve their goals.
2. Unfamiliarity with Features
While most Image to Video AI tools are designed to be user-friendly, beginners can still feel overwhelmed by certain features or terminology, such as “dynamic transitions” or “smart zoom.” This lack of familiarity can prevent users from fully exploring the tool’s capabilities.
3. Overly High Expectations
Some users expect Image to Video AI tools to perform like professional video editors, handling complex requests flawlessly. However, these tools are optimized for straightforward image-to-video conversions, not advanced video production.
How to Get Started: A Beginner’s Guide to Image to Video AI
Even if you have no video editing experience, you can start creating dynamic videos with Image to Video AI tools by following these simple steps.
Step 1: Choose and Upload Your Images
Start by selecting the images you want to turn into a video. Most tools support common formats like JPEG and PNG. Using high-quality images will result in better video output.
Tip: If you’re new to this, start with simple images like product photos or scenic landscapes. These tend to produce visually appealing results without much effort.
Step 2: Enter a Descriptive Prompt
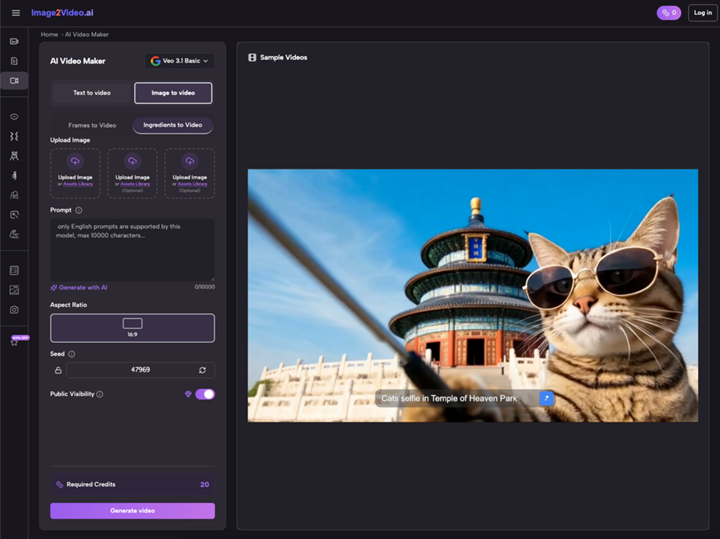
After uploading your images, you’ll need to provide a short text description of your vision. For example, you might write, “Create a dynamic product showcase with smooth zoom transitions.” The AI will use your input to generate animations tailored to your needs.
Personal Insight: When I first started using these tools, I kept my prompts simple, like “Add subtle zoom effects to highlight the image.” This approach helped me get satisfying results without overcomplicating things.
Step 3: Wait for Processing
Once you submit your request, the AI tool will process your images. This typically takes just a few minutes. During this time, the tool applies advanced Image to Video AI technology to bring your photos to life.
Step 4: Review and Share Your Video
After processing, you can preview your video. If you’re happy with the result, download it or share it directly to social media. Most tools output videos in MP4 format, which is compatible with virtually all platforms.
Common Mistakes Beginners Make (and How to Avoid Them)
When trying out Image to Video AI tools for the first time, it’s easy to fall into certain traps. Here are some common mistakes and practical ways to avoid them:
Mistake 1: Skipping the Purpose
Many users dive into video creation without thinking about the video’s purpose. For example, a social media video should be short and engaging, while educational content may require more detailed animations. Overlooking these differences can lead to videos that don’t resonate with their audience.
Solution: Before starting, define the video’s purpose and target audience. Ask yourself: Who is this video for? What message do I want to convey?
Mistake 2: Relying Too Much on Default Settings
While Image to Video AI tools often include automated features, relying solely on default settings can limit the quality of your video. For instance, many tools allow customization of transitions, text overlays, and music, but beginners often overlook these options.
Solution: Explore the tool’s customization features, like adjusting animation styles or adding background music. These tweaks can make your video stand out and feel more personalized.
Mistake 3: Expecting Perfection on the First Try
AI tools are powerful, but they aren’t magic. Beginners sometimes expect the tool to generate a flawless video on the first attempt, which can lead to disappointment when the result doesn’t match their vision.
Solution: Treat the AI-generated video as a draft. Be prepared to make adjustments, such as shortening the video, changing text placements, or tweaking transitions to better meet your needs.
How to Integrate Image to Video AI into Your Workflow
For content creators and small teams, Image to Video AI tools can revolutionize how you produce visual content. Here are some practical ways to use these tools effectively:
1. Marketing Materials
- Turn product photos into dynamic video ads.
- Create short videos for social media posts.
- Produce 360° product showcases for e-commerce platforms.
2. Social Media Content
- Transform travel photos into engaging video stories.
- Generate eye-catching short videos for Instagram or TikTok.
- Maintain a consistent posting schedule by quickly converting images into videos.
3. Educational and Training Content
- Animate static charts and diagrams for presentations.
- Create short explainer videos to clarify complex topics.
- Use dynamic visuals to enhance online courses and tutorials.
4. Personal Projects
- Make heartfelt video montages from family photos.
- Create memorable anniversary or birthday videos.
- Bring old photographs to life with subtle animations.
Conclusion: Let Image to Video AI Simplify Your Content Creation
Image to Video AI tools offer a simple, accessible way to create dynamic videos from static images, even if you have no design or video editing experience. By setting clear goals, mastering the basics, and avoiding common pitfalls, you can easily integrate these tools into your workflow.
Whether you’re creating marketing videos, social media content, or personal projects, these tools can help elevate the quality and appeal of your visuals. Ready to try it? Start experimenting with picture to video today, and transform your photos into captivating videos that stand out!